The 4253 Locomotive Company Limited have issued their latest progress report.
This report covers the first two weeks in January when work was continuing on the restoration of GWR 0-6-2 tank engine 5688.
Week One
The team had spent ten days of fundraising at the Santa Specials then had Christmas off before resuming work on New Year’s Eve.
The water gauge float for 5668’s tank has been refurbished and tested that it did actually float.
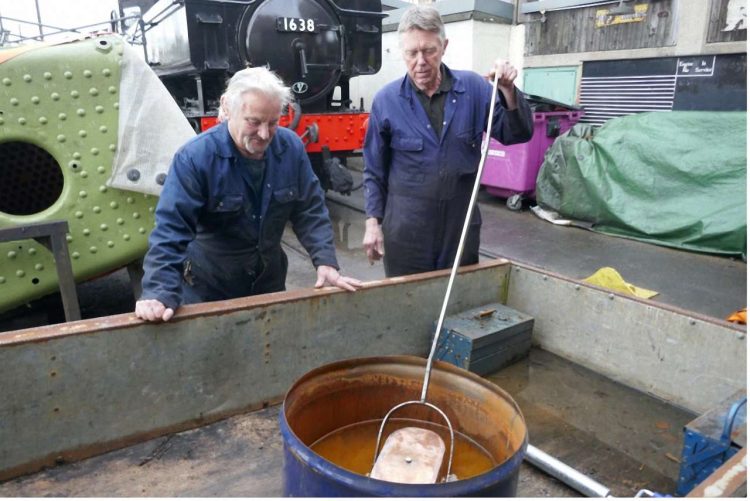
A new support rod was heated and bent to shape before being trial fitted.

On Sunday it was back to riveting, beginning with laying the tank on its side and reaming through the bottom angle holes.
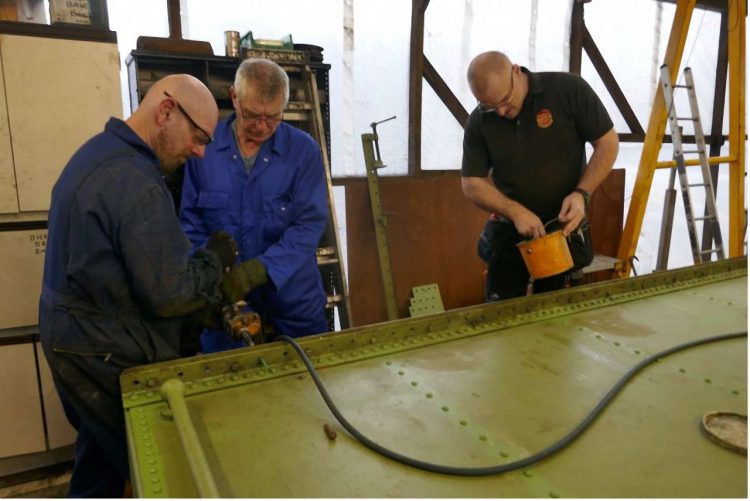
After that, rivets were put in along the entire length
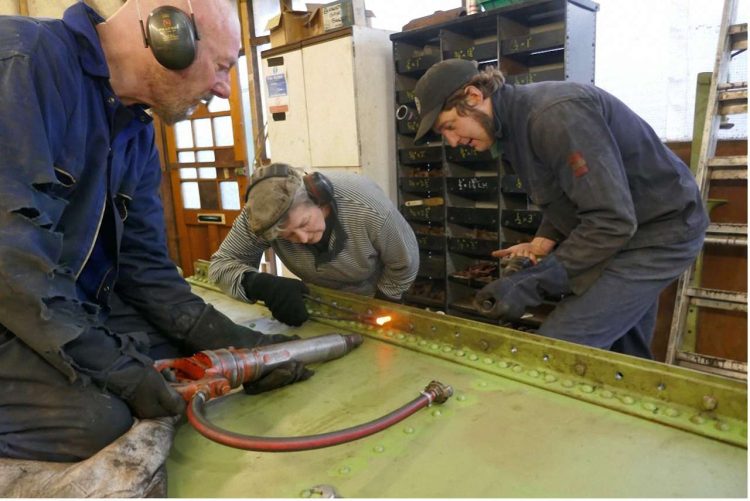
The tank was then lifted upright again and laid down on the other side; given its size and weight, it took a lot longer to do than say.
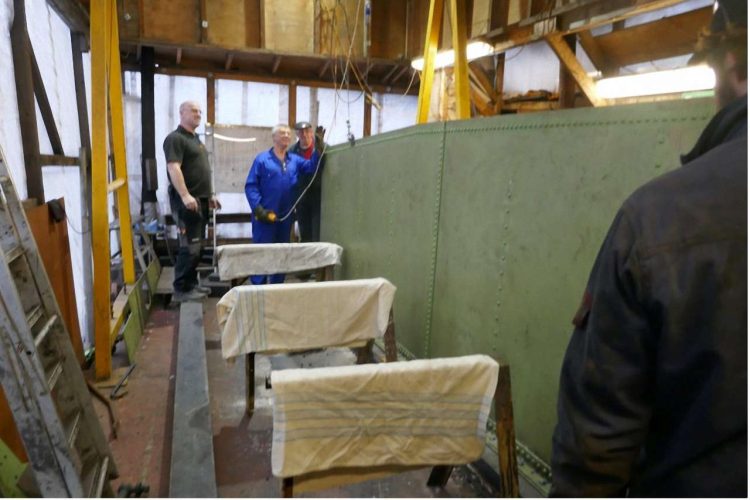
The rivets holding the inner rear panel, back panel, and floor together could then be fitted. Given the very limited space available to position the holding up tool, this was a slow business.
To do this, the rivets were passed through the fairly small oblong balance hole in the base to another person squashed into the end of the tank, who would put the rivet through the hole and position the end of the holding up tool against it.
Another person lying on the top of the tank then applied the holding force to the back of the rivet (although he couldn’t see it) through the inspection plate hole in the tank side while a third person knocked it down.

Welding together a new capping strip for the top of the tank was another job that was started.

Week Two
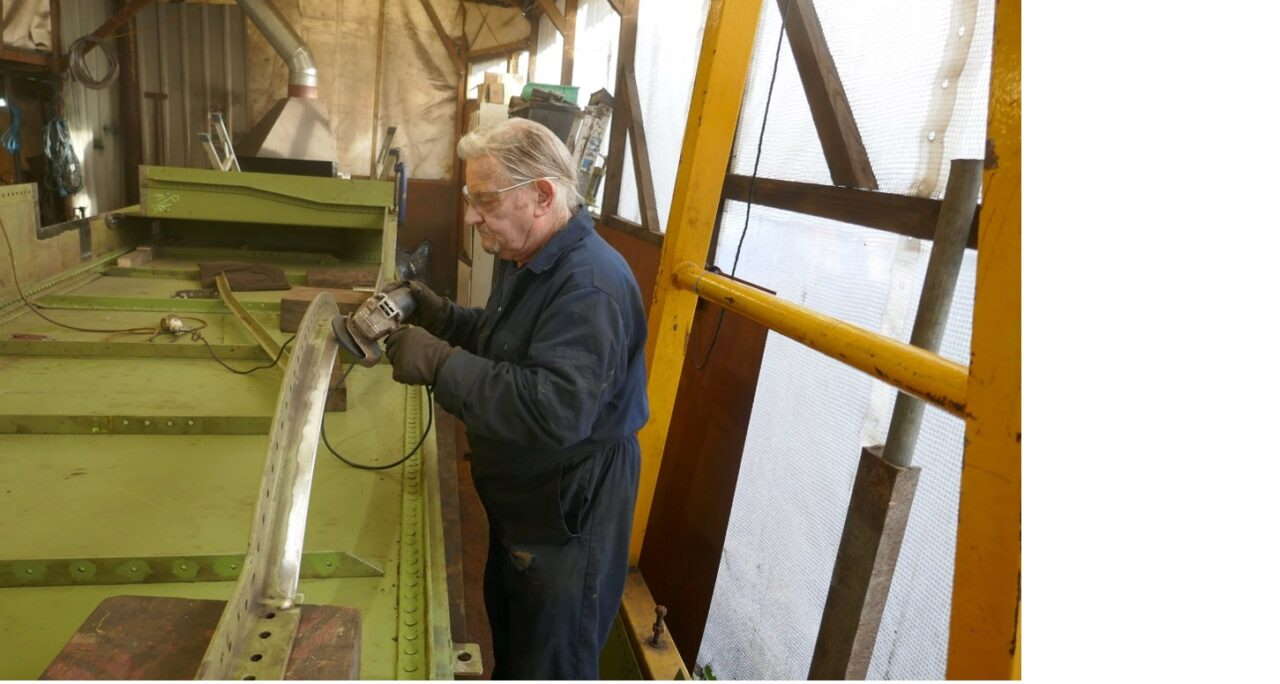
The week started with more preparation work on 5668’s water tank, grinding back the welds on the newly-fabricated length of trim capping, and marking and drilling the holes for the cab floor support angle
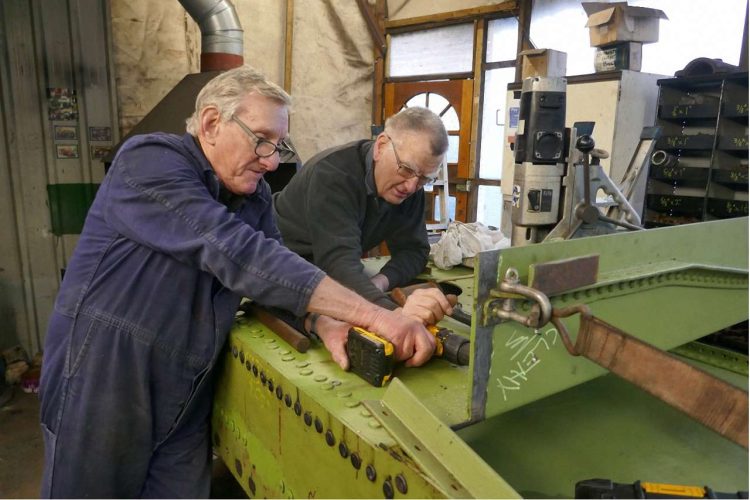
Various other parts were also being weld prepped, such as the floor to back panels angle seen here. This subsequently had mastic applied before being bolted in position ready for riveting.
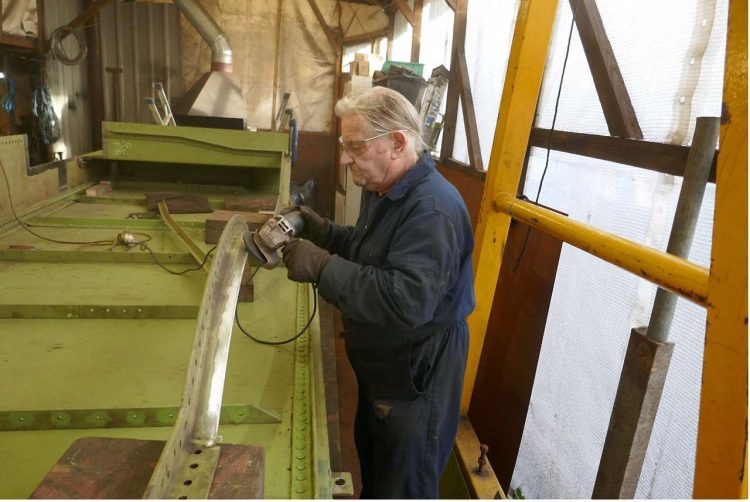
On Sunday, all the holes in the joint above were reamed through prior to being riveted.
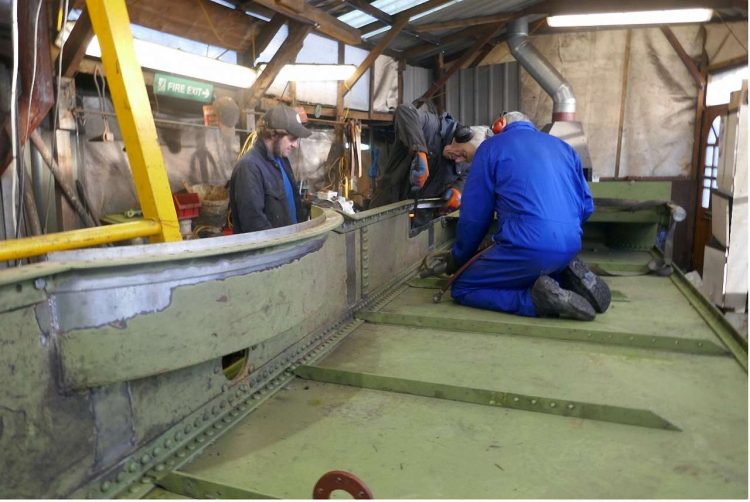 This shot shows the finished product prior to painting.
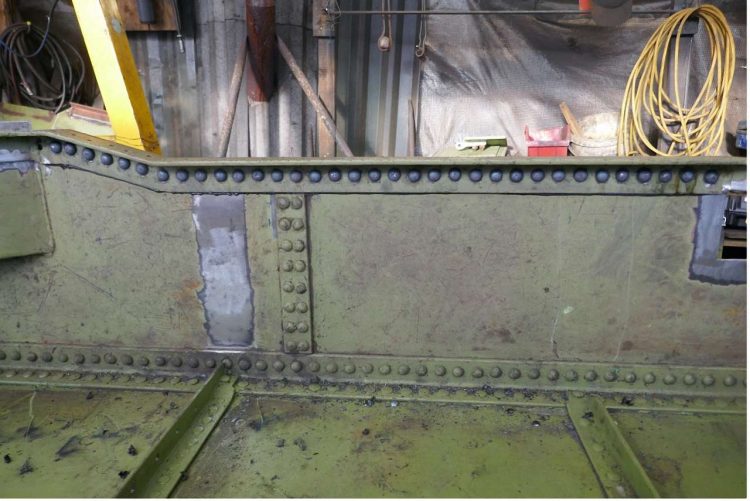
Next, it was the turn of the final run of rivets in the back panel where access is severely limited. This involved passing the hot rivet to another person inside the tank (his hand can be seen waiting to take the rivet) who places it in the hole. The end of the river is then grabbed, pulled fully up, and held while another person positions the pneumatic holding up tool to anchor it so that yet person can knock it down.
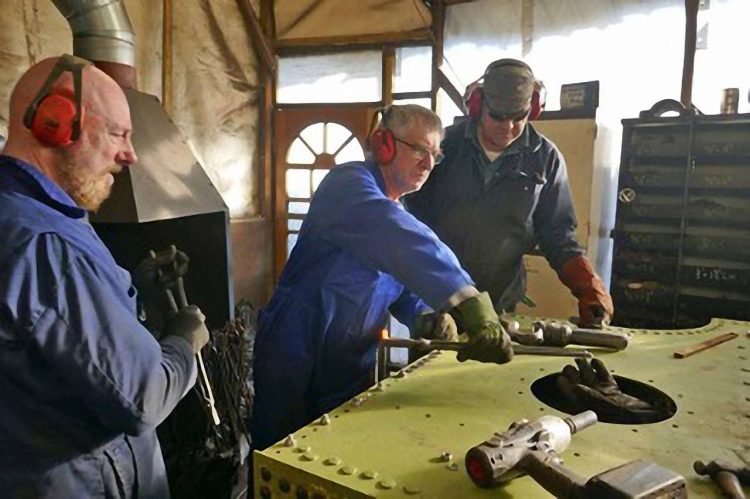
Once that job was completed, the floor support angle was riveted in, which involved the same process. The rear splasher plate sections were then offered up, trimmed as necessary, clamped into position, and tack welded.
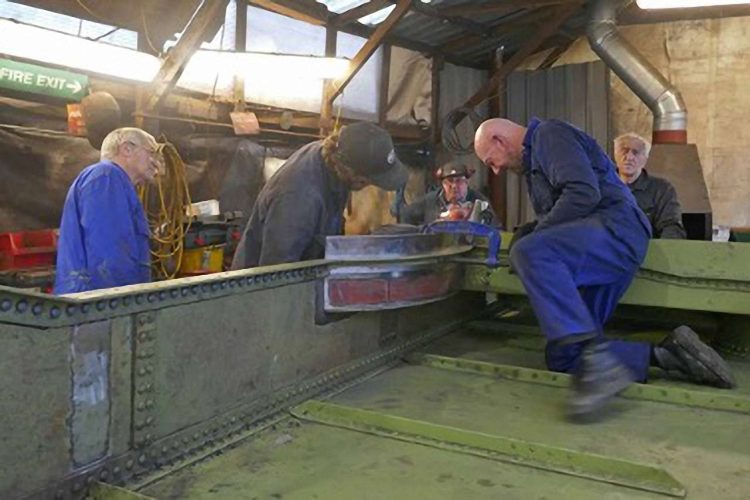
Then fully welded on the outer joins.
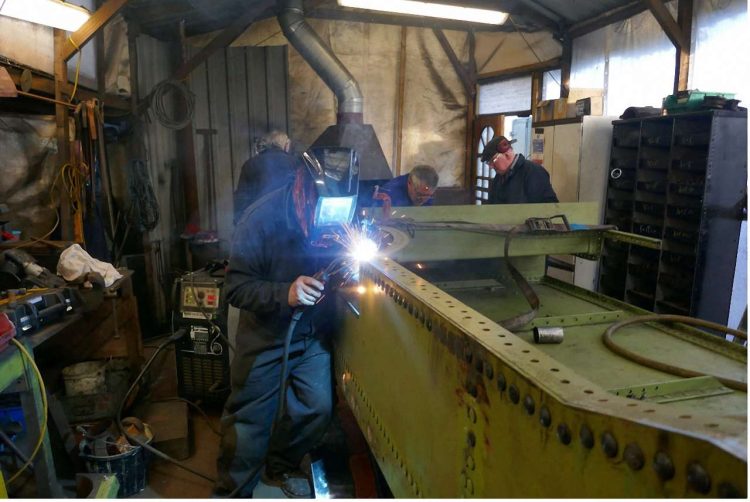
Once finished, the tank was, once again, lifted upright and ended the day looking like this.
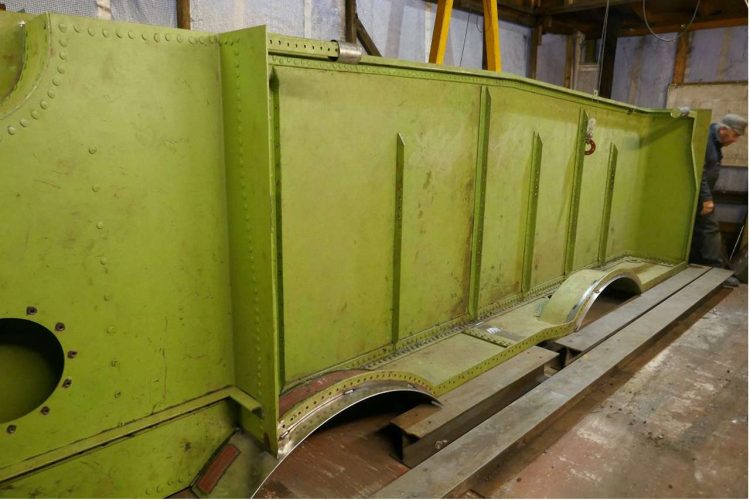
You can find out more about the project and how you can help support the restoration over on the 4253 Loco website



Responses